How We Build
Our
Predator Proof Pens
The pen diagramed below measures 20' x 20',
which is good for 2-4 ducks or 2 geese. Bigger pens with
less birds in them tend
to require less maintenance, are less likely to become
parasite infested and they have a better chance of staying
nice and grassy, which is good for webbed feet and also a great
source of vitamin A.
Keep in mind, this is just how we build our pens.
There are other ways of doing things.
Our foundations go at
least 18" down into the ground. We dig trenches where
the perimeter fence will be set down. The trenches are
at least 6 inches wide and 18 inches deep. Then,
we pour cement into this perimeter ditch and allow it to
set. After that, we use a nail gun to mount 2" x 4"
pressure treated boards directly onto this cement
foundation. These boards are the anchors for our perimeter fencing.
Did you know?
In our larger pens, the cement
foundations can be as large as 12 inches wide and go 4 feet into
the ground!
Support beams should be placed 10 feet apart
in a grid formation throughout the entire pen and around its perimeter.
We utilize 4" x 4"
x 8' pressure treated, wooden beams as our support beams.
Perimeter Fence Supports:
When pouring our concrete perimeter
foundation, we insert galvanized 12-gauge 4" x 4" post bases
into the wet cement where our perimeter fence posts will be
positioned. Once the concrete is dry, the beams can be
raised and screwed right into these embedded brackets.
We make square moulds using left over lumber
scraps and then pour cement into them. While the cement is
setting, we insert the same galvanized post bases into the
mix. Once the concrete is dry, we screw our pen's interior
support beams right into these brackets, anchoring them firmly
to the concrete pads.
Cross beams are constructed using various
sizes of pressure treated lumber and are bolted and
bracketed, nailed and/or screwed together.
Remember
to account for the heavy weight of snow in winter. If
your supports aren't strong enough to hold the load, your
roof will cave in.
A seemingly harmless cubic foot of light and fluffy snow can
weigh as much as seven pounds; meanwhile, a more
common and wetter snow can easily way fifteen pounds
or more. Your 250 square foot roof may need to hold anywhere
from 1750–3750 pounds of snow following a winter snowstorm.
Perimeter
Fencing & Ceiling Wire
Your budget will likely determine the quality
of your perimeter fencing, but more importantly, you need to
consider the type of predators you are trying to keep out.
Option 1: Double-Layer
Perimeter Fencing (Affordable):
Although this system utilizes two layers of
fencing to keep predators out, it's still very affordable.
The interior layer of wire provides you with
a nice tight fence weave to keep predators from squeezing
through or reaching inside while the exterior layer of wire
prevents predators like dogs, coyotes and raccoons from
gnawing their way into your pen.
For your exterior layer of wire you'll need to purchase 14
gauge, PVC (Poly-Vinyl Coated) galvanized welded wire mesh with the smallest
weave possible. Home improvement stores commonly carry 50'
rolls of this wire
with 1.5" x 2.5" grid spaces. While they tend to
stock 3' and 4' rolls, you can sometimes special order
taller rolls that are 6' high.
For your interior layer of wire you're
looking for something that will fill the space of those 1.5"
x 2.5" grid spaces of your exterior wire. This will help
keep smaller predators out.
Option A: (More
Affordable)
You can purchase rolls of 6 foot
high, 20 gauge, 1" hex wire (also referred to as poultry wire or
chicken wire) for your inner layer of wire. If you
look around online you can sometimes find this in convenient 100 foot rolls. If
you
can find PVC hex wire, all the better because
it won't rust out and will last you a lot longer.
Option B: (A Little Less
Affordable)
You can visit
Academy Fencing's
website and purchase rolls of 19 gauge, 1/2" x 1/2"
PVC welded wire mesh (hardware cloth).
If this price is too high for your budget, you can purchase
thinner, 23 gauge 1/4" x 1/4" PVC welded wire mesh (hardware
cloth) also available through
Academy Fencing.
If this is still too pricey, you can purchase 1/2" x 1/2"
welded wire mesh that's not Poly-Vinyl
Coated from your local home improvement store, although you
may need to special order your rolls if they don't carry
large enough heights or lengths for your duck pen. If they
don't have it, you can find this kind of hardware cloth
online. While this is the most affordable option, it will
eventually rust and need replacing.
1) Mount your interior wire
around the outside of your pen's 4" x 4" perimeter
poles using "U" shaped fencing nails.
2) Then, layer your thicker,
exterior 14 gauge galvanized wire over the top of your
other wire and mount it securely in place using "U" shaped fencing nails.
Tip:
If you can't find the exact wire
height you're looking for, you can add different heights together to reach
your ceiling.
For example: If your pen is
8' high and you can only find 4' high fencing rolls, you can mount one
length of 4' high fencing on top of another 4' of fencing to cover the span
from ground to ceiling.
Do not use two layers of wire
on top of your pen. Mount ONLY the 14 gauge
galvanized wire on top of your ceiling rafters. The wider
holes in this fencing will allow more snow to fall through
the wire in winter rather than piling up on top (even so,
you'll need to check it during snowstorms to make sure it's
holding up properly. You can clear the snow off by tapping
the roofing wire with a broom handle).
Option 2: Super Strong
Perimeter Fencing (Expensive):
More expensive perimeter fencing requires
only one layer of fencing.
We use black, vinyl coated, 16 gauge, 1/2" x 1/2"
mesh that we buy in 100' rolls,
but other color and size options are available. Visit
Louis Page Inc or
Academy Fencing to order. We
mount this fencing to our wooden
support structure using "U" shaped fencing nails.
Tip:
Keep in mind that this option is not only more expensive,
but it is also pretty heavy and harder to cut (you'll need very good,
heavy-duty wire
cutters or a small dremel-like saw tool).
In the below photo, you can see we used this same material for our pen's ceiling.
Option 3: Pre-Existing
Perimeter Fencing (Inexpensive):
We had a pre-existing dog kennel already in
place on the property. We purchased roles of 19 gauge, welded wire
mesh also known as hardware cloth (Poly-Vinyl Coated
is preferable and available relatively inexpensively through
Academy Fencing)
You can simply zip-tie this wire mesh into place over
your existing
chain link pen using heavy-duty cable ties. This will keep
your ducks and geese from poking their heads
through the holes in the chain link while also preventing raccoons from
reaching into your pen and pulling at your birds.
Do not use this small weave
wire mesh as roofing material over the top of your pen.
Instead, mount 14 gauge, PVC galvanized welded wire mesh
with 1.5" x 2.5" grid spaces on top of your ceiling's
support frame. The wider holes of this kind of fencing will
allow more snow to fall through the wire in winter rather
than piling up on top (even so, you'll need to check it
during snowstorms to make sure it's holding up properly. You
can clear the snow off by tapping the roofing wire with a
broom handle).
We utililze anti-fatigue mats to cover
up the hard, concrete floor of the pre-existing dog kennel
because it isn't safe for webbed feet. Soft grounds is key
when it comes to waterfowl.
We use Soft Floor
Interlocking Tiles, Item #FM28, Green (other sizes and
colors are available). Visit
Mat Depot
to order.
Caution:
This product is not always ideal for geese who may pluck it
apart. It is also not idea for long-term situations because
it can eventually lead to foot and toe pad callusing. It's
best used in problem areas rather than throughout entire pen
spaces.
Be sure to avoid dangerous gaps
between your door and your door frame. The fit must be snug to keep
predators out.
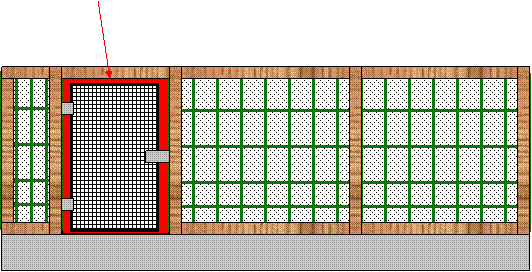
Remember:
Doors should be
padlocked with lock and key. Raccoons have agile fingers that are very good
at opening even the trickiest latches (neighbors have also been known to get
past latches).
Digging
Predator Barriers
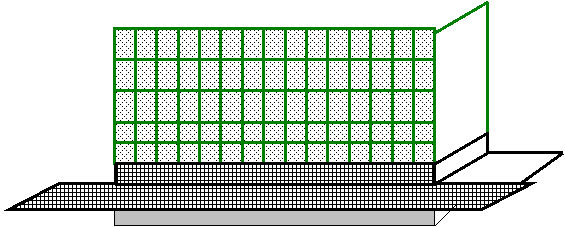
Digging predator barriers
are buried underground and skirt around the
entire perimeter of our pens as a further preventative
to keep predators from burrowing underneath and into our
enclosures.
We use PVC, 19 gauge 1/2"
x 1/2" wire mesh that we buy in rolls of 36" x 100' for
our digging predator barriers (other sizes
are available). Visit
Academy Fencing to order.
1) Standing outside of
your
perimeter fencing, dig a trench that goes 6 inches down into
the ground and 2 feet out and away from your perimeter
fencing.
2) Unroll your
PVC wire mesh along each side of your pen. Allow for a
couple extra feet of mesh to extend out from each corner
of the pen before cutting the mesh. This makes for a
good overlap that blocks corner entry.
3) Position the wire mesh so that
the top 6 inches of the 3 foot mesh overlaps the base of
your perimeter fencing. Mount
this top 6 inches of mesh to your perimeter fence posts
using "U" shaped fencing nails. In between the posts,
zip-tie the mesh directly to your perimeter fencing
using heavy-duty cable ties.
4) Press the next 6 inches of mesh
straight down into your excavated trench.
5) Bend the remaining 2 feet of mesh out
and away from your perimeter fence
and press it down, so that it's laying flat at the bottom of
your
trench.
6) Do any
necessary cutting and/or
folding at each of your corners as you work your way around
your
pen. Secure overlapping layers of mesh together with
heavy-duty cable ties.
7) Refill the trench and bury the mesh
underground (except for the top 6 inches that are
mounted to your perimeter fence).
Ducks and geese need top cover to prevent
owl, eagle and hawk attacks in addition to keeping raccoons
from climbing over the perimeter fencing and into your pen. While I
recommend PVC galvanized wire roofing mounted to rafters, it
doesn't always work in every application.
Extra Heavy Weight, knotted 2" mesh,
with a 125 lb breaking strength can be purchased in rolls of
52' x 155'
(other sizes are also available) through
Louis Page Inc.
if cared for properly, this netting lasts about 8 years before needing to be
replaced.
Tip:
The weight of snow can stretch out or tear down
aviary netting. It must be monitored during snowstorms and cleared frequently
by tapping it with a broom handle.
Tip: In this photo the tree-top
sprouts
weren't pruned yet, but we do keep them under control to prevent them from
stretching or damaging our netting.
Solar
Powered Electric Fence
We utilize electric
fencing around the top border of our perimeter fencing to keep
climbing predators (like raccoons) off of our pens. This is
especially important if you're using aviary netting or predators can easily
chew their way inside.
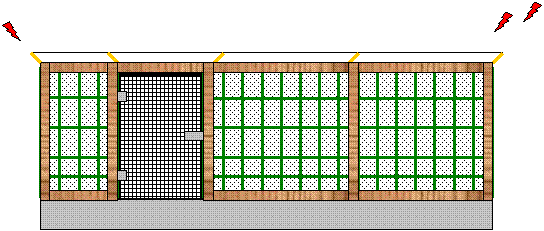
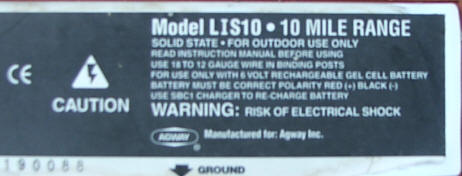
A solar-powered electric fence
charger will prevent any increases in your monthly
electricity bill.
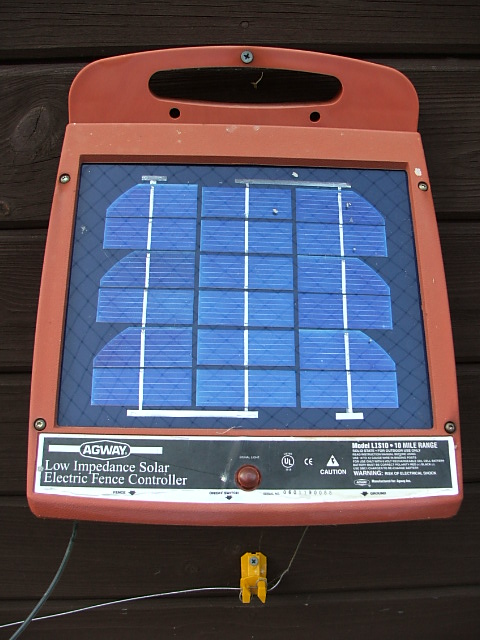

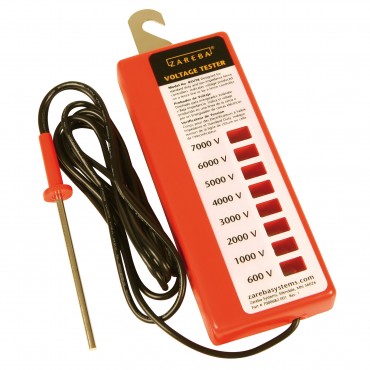
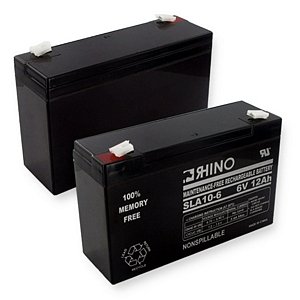
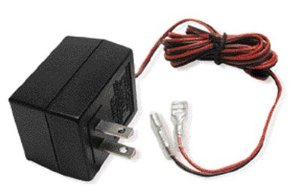
Be
sure to purchase an electric fence tester (voltage
meter), a back-up battery and a plug-in electrical charger
to keep your fence functioning properly during the
winter when there's less direct sunlight.
An electric fence
monitor light is ideal to monitor your electric fence
function. You just mount it over any area of your
electric fence. The light flashes red when the fence has
shorted out or has run out of charge.
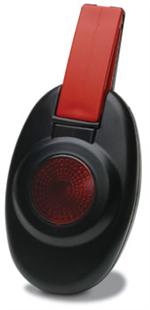
If you have an existing metal-framed or
chain-link pen, you can construct your own jigs to support the electric
fencing and then zip-tie them into place using heavy-duty cable ties.
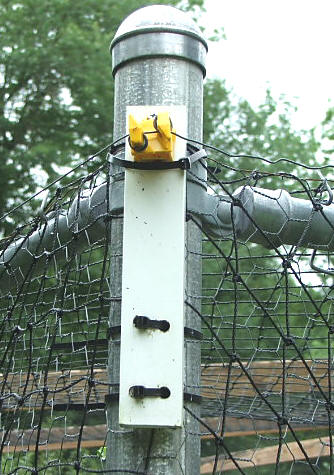
Tip: It's not uncommon for electric fencing
to
short out during snow and ice storms. Fortunately, predators aren't usually
out in this weather. Remember to always shut off your charger before you
start clearing snow and ice from the electric fence.
Water
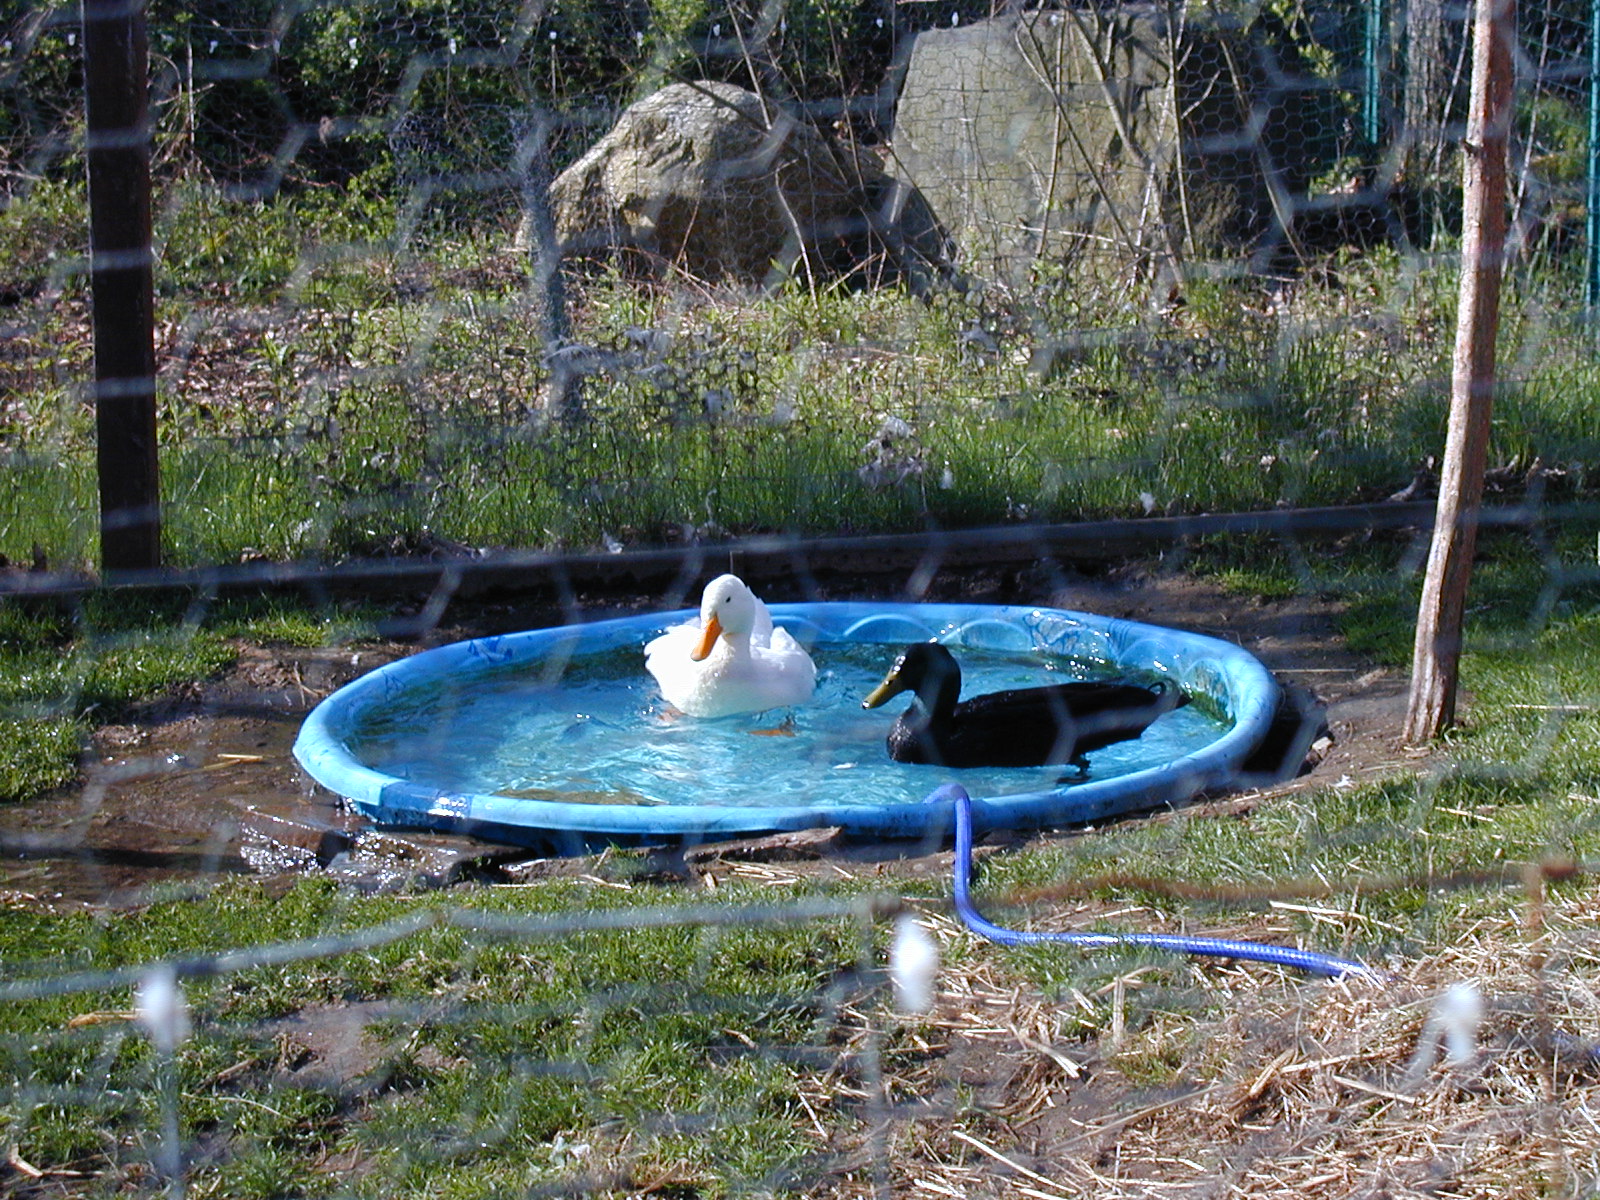
When we first opened our sanctuary we utilized kiddy
pools. Always sink pools into the ground, so your ducks
and geese won't not
trip over the lip. Their legs are especially vulnerable
to accidents and very easily
injured.
We upgraded our pools to cascading concrete ponds and
pumped stream water up into them. They worked very well,
but had to be re-faced every year because they crack in
cold weather. This was fine in the beginning, but after
a while we had too many ponds to work on every spring
and it became pretty inconvenient (and costly).
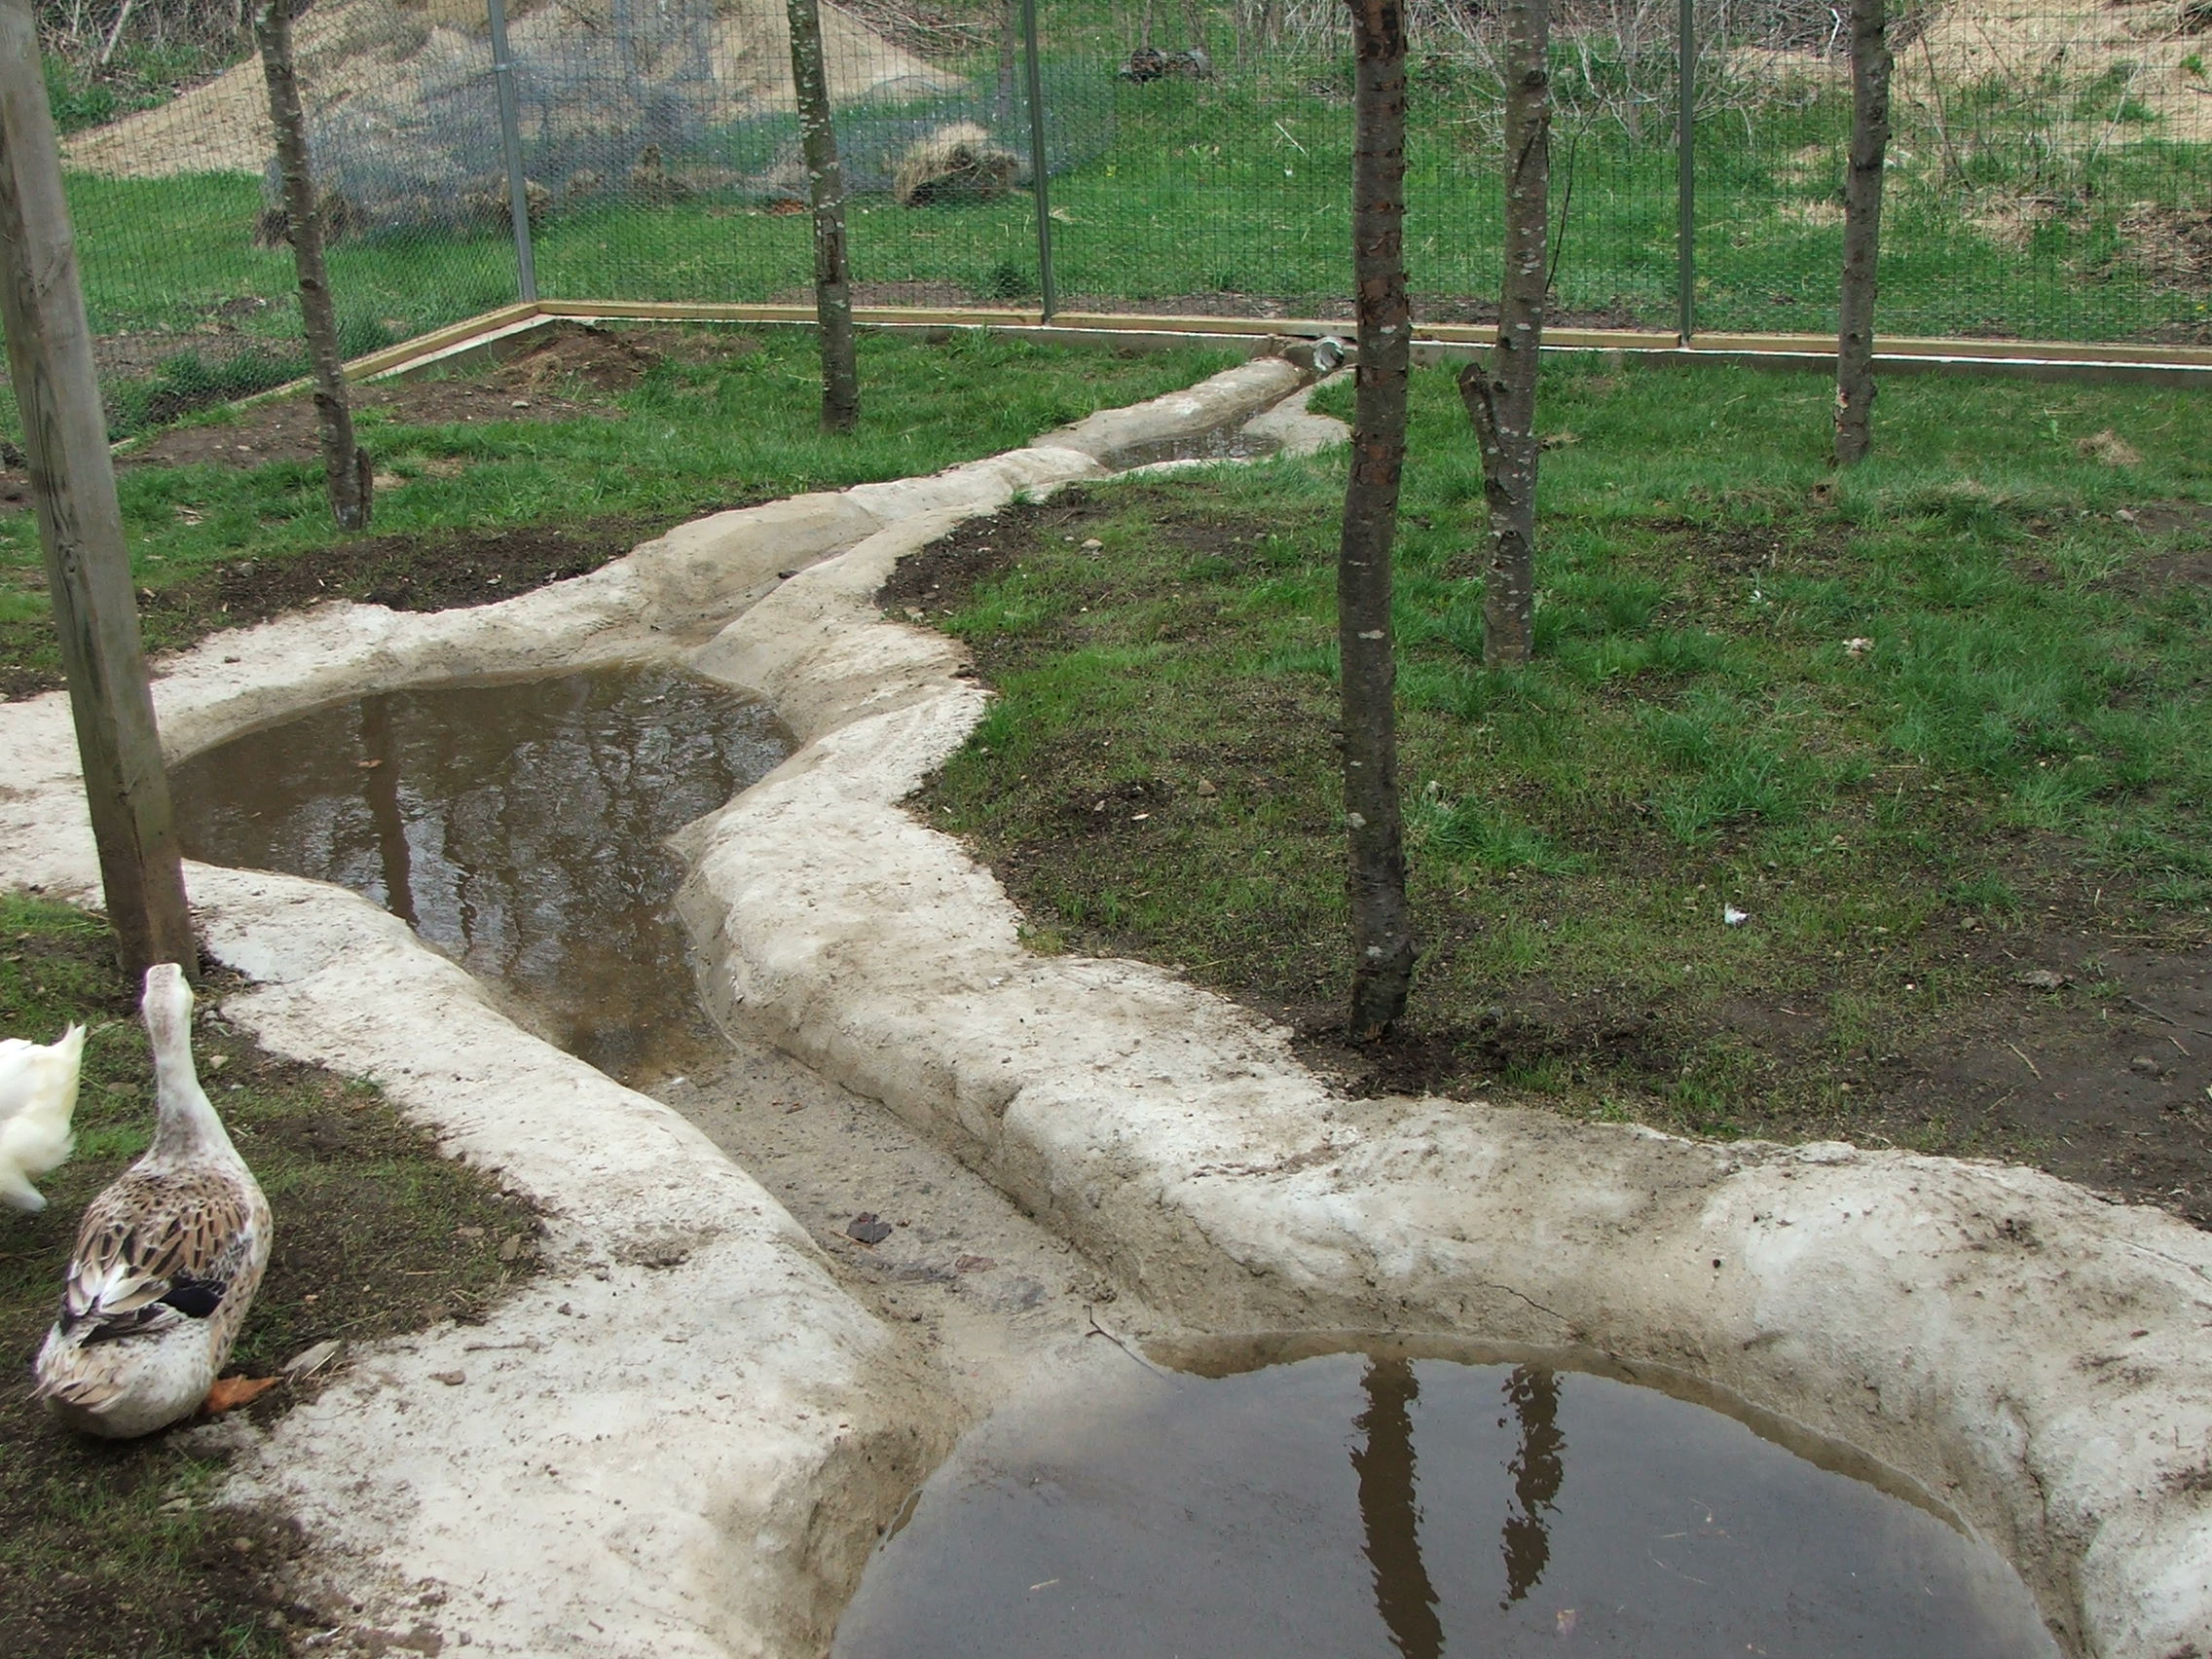
Tip: The one foot lip around
the edge keeps ducks from pulling dirt and mud into the
ponds while they are floating on the water.
We upgraded once again to preformed
McCourt pond liners with
built in plant shelves for the ducks to use as steps
to get in and out.
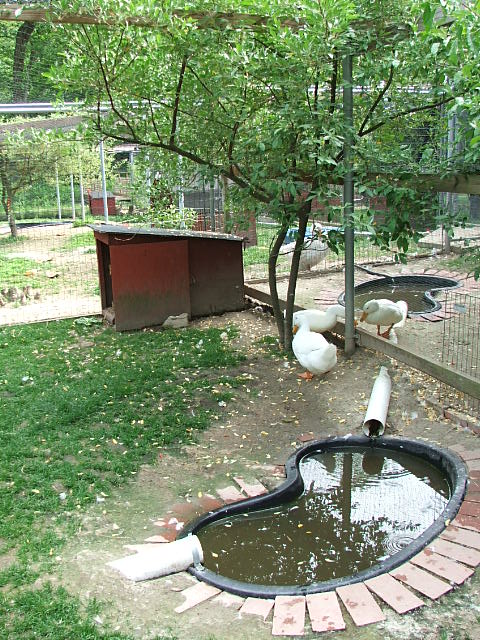
Tip:
If you are going to use
sheet pond liners, do NOT lay rocks or pour round stones
around the edges. They can lead to serious foot and leg
injuries and aren't ideal for waterfowl.
Tip: Many garden stores display the
most expensive brands, but can often order the less expensive version. Our
bean-shaped, pre-formed pond lingers hold 50 gallons while our larger ponds hold 220
- 270 gallons. They usually cost between $1.25 - $1.50 per gallon.
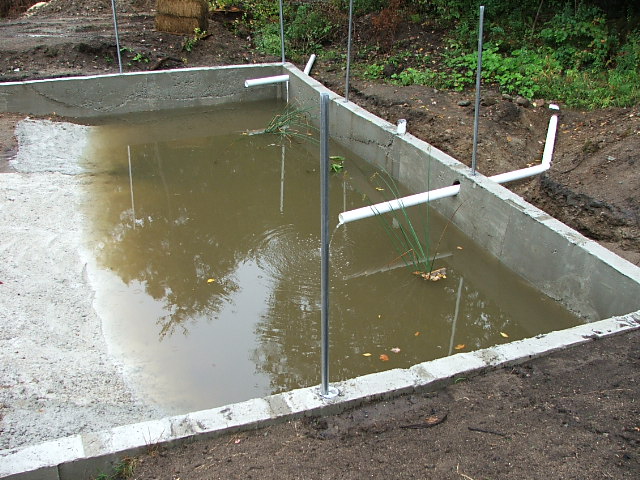
We constructed our own concrete pond
in our largest enclosure (The Courtyard). The excavator rental
for this kind of project costs about $1000. We built our
own concrete forms for a few hundred dollars more. And
the cement cost about $500. I know this sounds like a
lot, but when we attempted to cost this work out through
contractors they gave us an estimates ranging between
$10,000-$25,000 dollars! By doing
the work ourselves, it only cost us about $2000 dollars.
Stream water naturally comes into one pipe and drains
out the other (the excess piping was cut off after this
photo was taken).
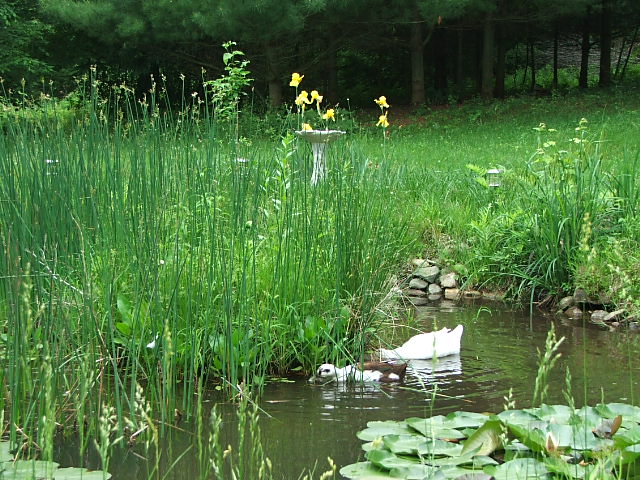
We have a few natural water sources on the property.
Only human-imprinted ducks and geese are led to these
fun places and they are chaperoned closely at all times.
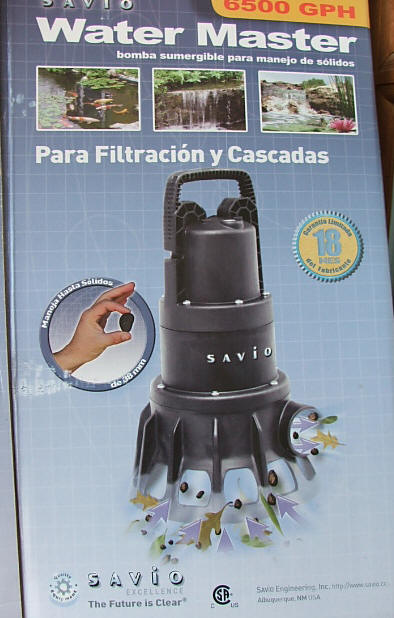
Pump
We use a Savio Water Master 6500 GPH, 750-1000 watt, solids handling
submersible pump, to move water from our main
Courtyard pond through piping to all of our other
smaller ponds throughout our enclosures. You can find
this product at
Webb's Water Gardens.
Return to
Articles © Majestic
Waterfowl Sanctuary 2005, 2006, 2007, 2008, 2009
|

