|
Majestic
Diary
December 16, 2009
I've been watching too much "Ace of Cakes" and "Cake
Boss" on television lately. It inspired me to want to
bring a Majestic castle cake to our vet office this
year. I went online to find a bakery and YIKES! They
want $85.00 just for a flat sheet cake. Castle cakes
cost $200-400 dollars! And their cakes were kind of
sloppy looking--uneven and amateurish. You've got to be
kidding me! For $400 that cake ought to look like
perfection!
I was sure I could do better myself and for a lot less,
so inspired by my favorite cake shows, I searched for
online recipes to taste and viewed a couple minute-long
video tutorials. Then, I was ready to give it a try!
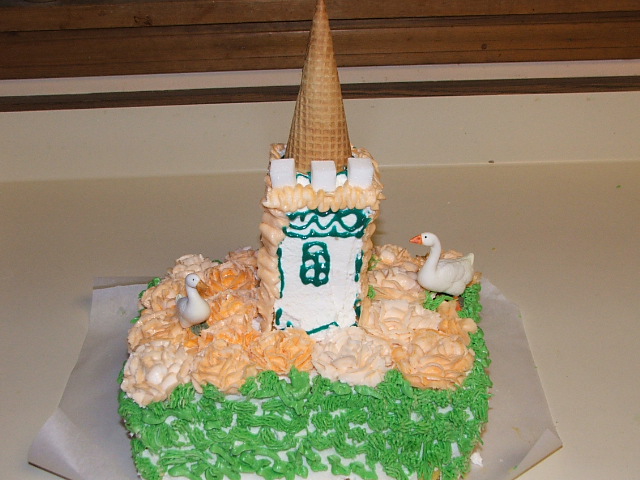
First, I tried a small-scale version of my cake to
master the basic techniques. I learned how to make roses
and tested my buttermilk frosting recipe. Although a bit
lopsided, the cake tasted wonderful and was nice and
moist. I even used duck eggs in the batter!
Mind you, I have a KitchenAid Classic Plus
mixer. It has a single beater that moves around the edge
of its mixing bowl and keeps batter or frosting from
building up on the edges. I can also change out the wisk
for a dough hook (which works great for fondant and
handles all the kneading).
Inspired by my initial success, I came up with this
design for the real cake:
Baking The Cakes
I baked the 5 cakes over the course of a few days, let
them cool, removed them from their pans then set them on
cookie sheets, uncovered in the freezer for an hour.
After that I wrapped each one individually in cellophane
wrap and kept them in the freezer.
The 2 rectangle sheet cakes supporting the brunt of the
weight are Betty Crocker Pound Cake, while the 3
circle cakes on top are Pillsbury Moist Supreme
Classic Yellow Cake.
Frosting Flowers
Next I made my flowers. Making flowers is (no pun
intended) a piece of cake! You can view quick video
tutorials all over the internet. It only takes a couple
minutes to learn. I tried three different frosting
recipes and realized that putting any butter at all into
the frosting leads to melting. So I found a tasty recipe
that uses butter extract instead of actual butter. It
tastes great and holds it shape.
Frosting Recipe (to frost cakes and to make
frosting flowers)
2/3 cup water
12 cups confectioners sugar (made
from cane sugar and ground 10x)
1 1/4 cups shortening
1/2 tsp clear vanilla extract
(craft stores carry this)
1/4 tsp butter extract (craft
stores carry this)
Instructions
1) Mix 4 cups of sugar, 1/4 cup of
shortening with the water.
2) Add vanilla extract and butter
extract.
3) Alternately add the remainder
of the sugar and shortening until thoroughly mixed (hold
back a bit of sugar in the end if you will be using the
frosting to cover your cake or it will come out too
thick and be harder to work with).
4) Use gel colors to achieve
desired color (craft stores carry this).
I made all the flowers a week before cake day. Then I
set them on wax paper on cookie sheets and let them sit.
They keep for 2-3 weeks.
I found that by not thoroughly mixing gel colors into
the white frosting, it made more realistic colored
flowers. And when changing from yellow flowers to
orange, to pink, to purple, I just kept re-topping off
the same pastry bag without cleaning it. It gave the
flowers a nice rainbow effect as the colors changed
over.
Fondant
Then I made blue fondant for the water. I found a recipe
online that does NOT use marshmallow (because it tastes
disgusting).
Fondant Recipe
1 tbsp of unflavored gelatin
1/4 cup of cold water
1/2 cup of light corn syrup
1 tsp clear vanilla extract (craft
stores carry this)
1 tbsp of glycerin (craft stores
carry this)
2 lbs of confectioners sugar (made
from cane sugar and ground 10x)
Instructions
1) Sprinkle the gelatin over cold
water in a small bowl and let it sit for 2 minutes.
2) Place the bowl in the microwave
for 30 seconds on high until the gelatin dissolves.
3) Add the vanilla extract, the
corn syrup and the glycerin and stir until the mixture
is smooth and clear.
4) Pour 1 1/2 pounds of the sugar
into your mixing bowl. Make a hole in the center and
pour your liquid mixture into it. Start blending.
5) Continue to add the remaining
sugar into the mixture. With any luck you have a mixer
that will do this for you; otherwise, prepare to put
some serious elbow grease into it.
6) Use gel colors to achieve
desired color (craft stores carry this).
I mixed up a batch and then realized it was impossible
to roll out without it sticking everywhere. So what's
the trick? There are two tricks:
The first fondant secret I found online:
After your make fondant, wrap it in cellophane and put
it in a ziplock bag and let it set for 24 hours
NON-REFRIGERATED.
7) Wrap the fondant in cellophane
and then in a ziplock bag. Let the fondant sit for 24
hours NON-REFRIGERATED.
The second fondant secret I discovered on my own.
All the sites will tell you to put a thick coat of
confectioners sugar all over the counter and all over
the fondant--but what a MESS! Plus, after a while all
that sugar totally ruins the fondant. I ruined my first
batch of fondant, but not in vane. After getting
frustrated, I just decided to just spray some Pam
cooking spray on the countertop and on the rolling pin.
Genius! It totally worked!
I pre-made a batch of blue fondant 24 hours before I
assembled my cakes, so it would be all ready to roll out
and make the moat under and around the castle.
Cake Assembly
This morning I whipped up a batch of green frosting and
then pulled out the cakes from the freezer as I needed
them. Frosting them cold helps to prevent getting cake
crumbs in the frosting. I frosted the rectangular green
cakes first and set them on my base.
Then I mixed up a batch of white frosting. The white
cakes had to be lightly pre-frosted and then they went
in the fridge for 10 minutes. I took them out again and
re-frosted them with a thicker layer. This not only
helps further prevent crumbs in the frosting (and it
really shows up when frosting in white), but it also
helped me get that smooth finish on the castle's
surfaces.
I laid down my blue fondant moat and then stacked up the
remaining cakes and then pushed a chopstick down the
center of all the cakes to help keep them stacked and in
place and then I put the upside down ice cream cone on
top.
Cake Decorating
Then came the fun part! I put my sugar cubes around the
castle and then piped green vines on the castle. I had
enough left-over white frosting to add colors to. So I
decorated my vines with tiny yellow and pink flowers. I
also added a bunch of yellow flowers to the top tier of
the castle. Then I added blue waves to add dimension to
my flat blue fondant moat.
I used left-over green frosting as the glue to stick my
roses onto the green part of the cake. After that I
piped in a few green leaves in between the flowers.
After that I piped a quick pink border around the entire
cake and added more roses and embellishments to the
front.
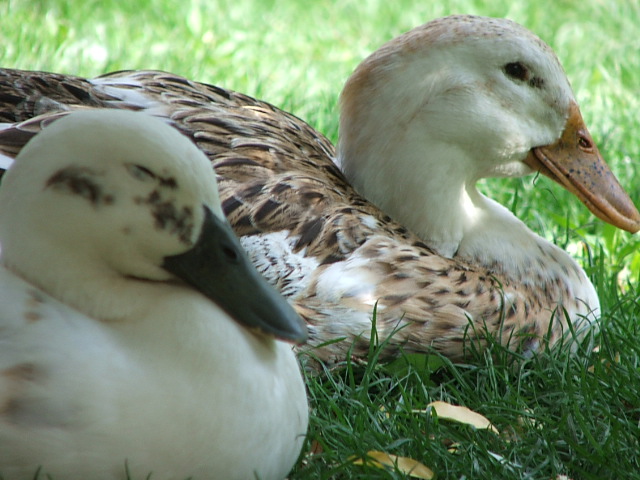
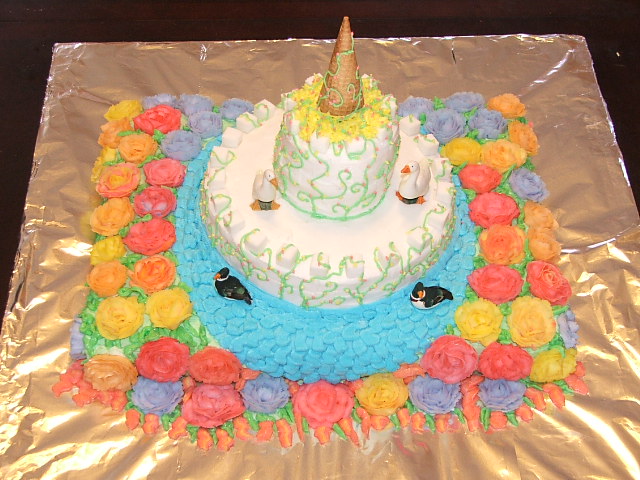
Finally, I stuck on my 2 mallard ducks, my Pekin duck
and my goose figures.
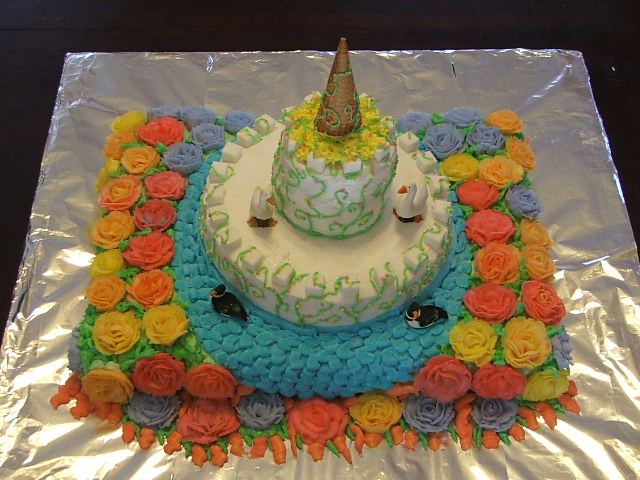
TAH-DAH!
Not bad for a first-time cake decorator, eh?!
My Majestic castle cake for All Friends Animal
Hospital!
I'm going to deliver it to them tomorrow as a thank you
for all their help and support and to wish them a great
holiday season!
Go to next page
Go to
Diary Calendar
Go back
to Membership Page
|